Modular Printhead and StealthBurner Cooling Duct Project for Voron / CoreXY
Design and STL files for a new 5015 blower diffuser optimized for printing in ASA, PETG and PA-CF.
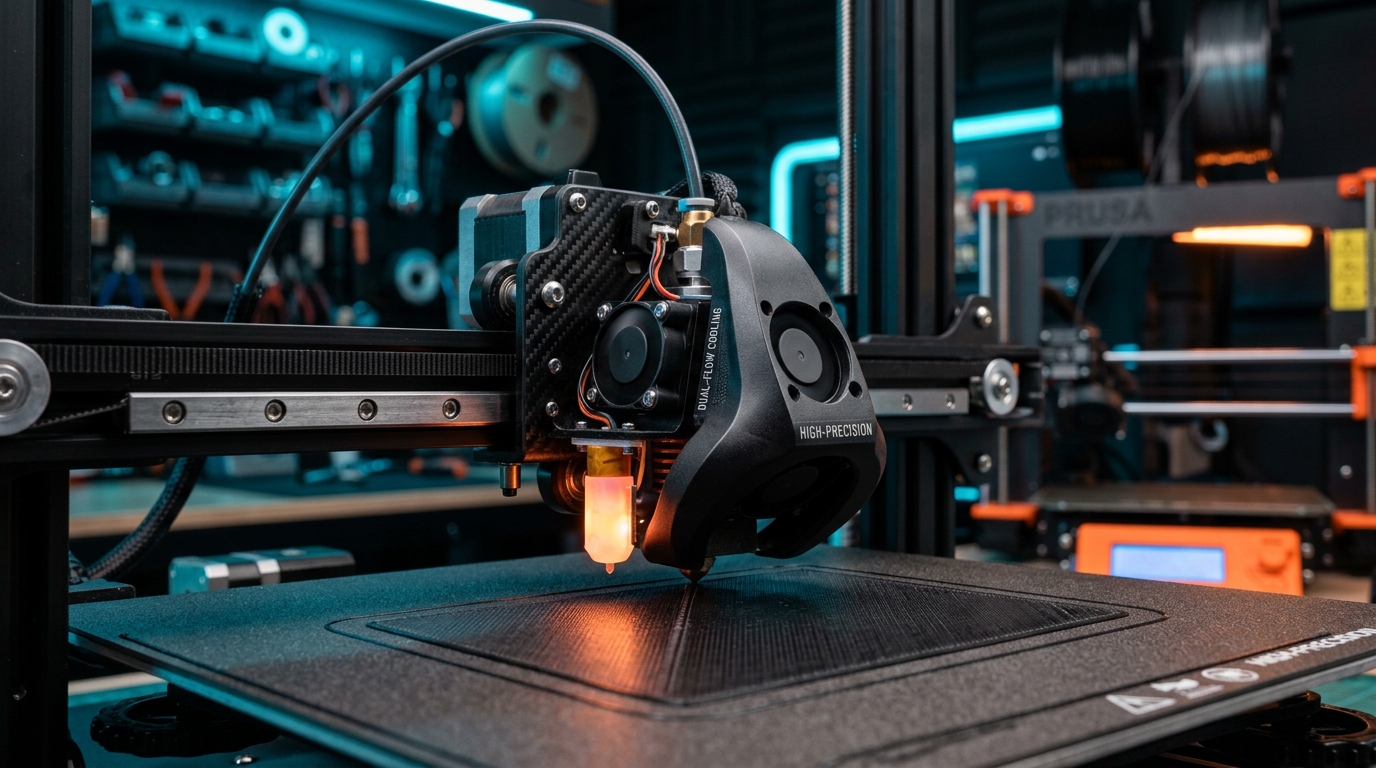
Design and STL files for a new 5015 blower diffuser optimized for printing in ASA, PETG and PA-CF.
Efficient layer cooling at speeds of 300–500 mm/s is one of the biggest challenges in modern CoreXY 3D printers.
I have spent the last few weeks optimizing the duct geometry for a 5015 blower fan. The goal was an even airflow from all four sides of the nozzle without creating turbulence that would cool the heater block itself.
⚡ Key takeaways:
- 🌪️ Dual-Flow diffuser: balanced static pressure prevents overhangs from deforming on the leeward side.
- 🌡️ Engineering filaments: tested in a 65°C heated chamber with ASA and PA-CF.
- 📐 Tool-free sensor mounting: support for inductive probes, Beacon3D and Cartographer.
1. Print test results
A comparison of the stock StealthBurner duct and the new diffuser on overhang and bridge test prints:
| Overhang angle | Stock StealthBurner duct | New Dual-Flow 5015 diffuser | Surface quality |
|---|---|---|---|
| 45° | 100% pass | 100% pass | Flawless, no visible lines |
| 60° | Slight drooping | Perfectly smooth wall | No deformation |
| 75° | Severe distortion | Correct geometry | Minimal marks |
| Bridges (80 mm) | 1.8 mm sag | < 0.2 mm sag | Self-supporting bridge |
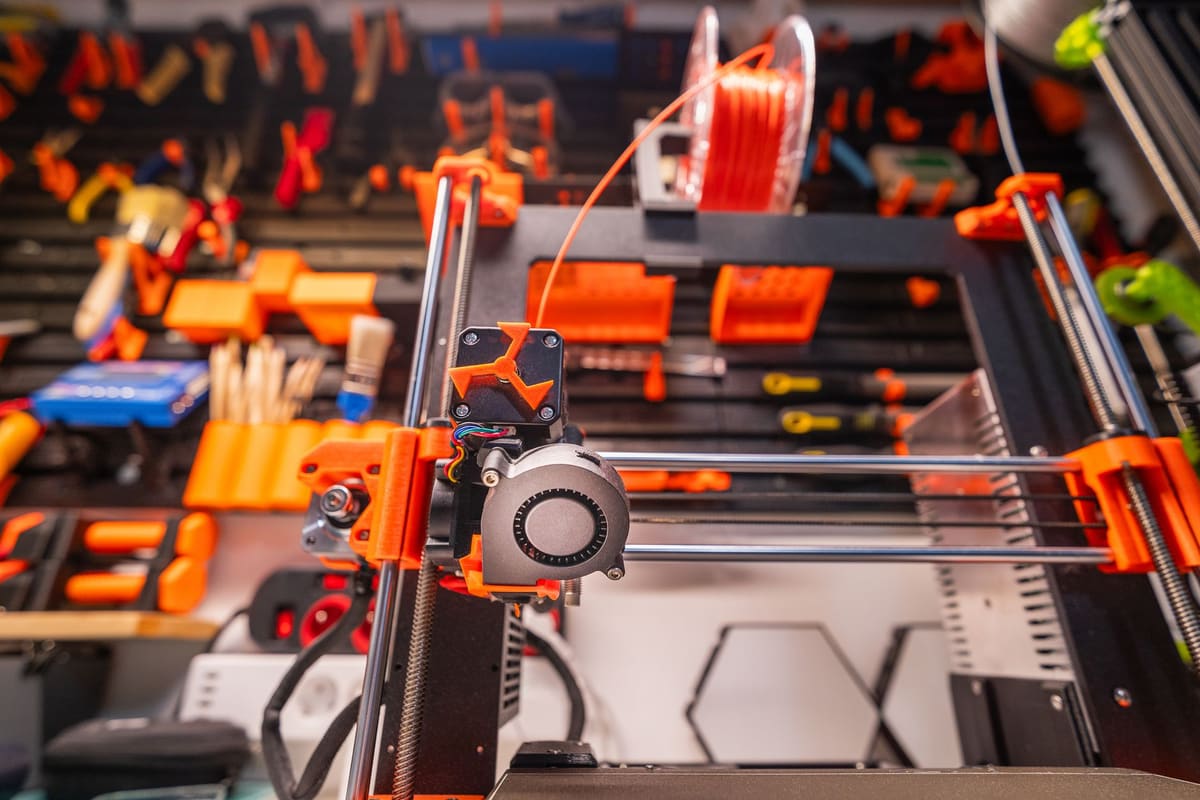
Technical parts and enclosures printed in ASA
2. Tests on finished technical prints
Improved airflow makes it possible to print lamps and lampshades with complex geometry without supports inside the structure:
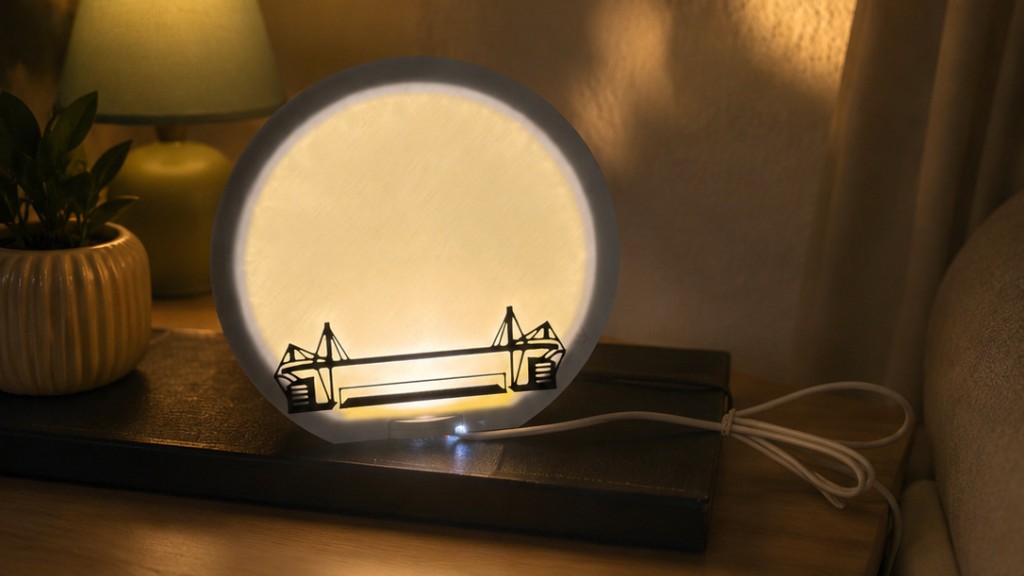
Precision-printed lampshade in PETG/ASA
3. STL files and slicer profiles
All STL files for printing it yourself (recommended filament: ASA or PA12-CF) and ready-made OrcaSlicer profiles are available in the 3D Lab section.
4. Setup and assembly
This post describes the geometry of a 5015 diffuser for StealthBurner / CoreXY toolheads. There is no separate product page in the print catalog yet — files and future revisions are published in the 3D Lab.
| Requirement | What to prepare |
|---|---|
| Printer | CoreXY with a StealthBurner-style toolhead and a 5015 blower |
| Filament | ASA or PA12-CF; PETG only for tests outside a heated chamber |
| Chamber | The design was assembled in a chamber at approx. 65°C (ASA) |
| Probes | Mounting holes for inductive / Beacon3D / Cartographer probes — check the hole spacing on your toolhead |
5. Printing and assembly order
- Print the diffuser in an orientation where the ducts need no supports inside the airflow path.
- Deburr the outlets — burrs ruin airflow uniformity more than a “close enough” filament does.
- Mount the 5015 fan and check the direction of rotation and the clearance to the heater block.
- Only then run an overhang test with your firmware and your speeds — the table in section 1 reflects my own setup, not a universal ranking.
I don’t publish CFD simulation results or noise measurements here — the best way to judge the diffuser is on your own printer. Print catalog: 3D Lab.